(BAR-47) UK's Black Arrow - With Gas Dynamic Stability (GDS)
I saw @Raptor 2 's version of this rocket here...
he's using clear plexiglass fins to make the rocket stabile... I
attempted to get him to axe the fins, using instead Gas Dynamic
Stability. He was having none of that.
So I figured what the heck, I'll build a smaller version and try it myself.
This is a really simple BT-52H and BT-60 rocket powered by a 24mm motor. Rear eject motor and chute with room in the Nose Cone for an Altimeter Two.
It'll be silo launched from a PVC tube.
Building a GDS rocket is kind of a crap shoot...
A) In Open Rocket I add fins, with a weight of 0 grams, to get an altitude reading. Of course there aren't really any fins.
B) I added a bit of Nose Weight, just because it's always better to have it since we're not going for any altitude "records".
C)
The GDS works via the perforated shell section at the base of the
rocket. This allows the motor exhaust to pull in outside air, which
stabilizes the flight during thrust.
D)
I canted the existing nozzles on the transition at 10 degrees. This
allows the rocket to spin which stabilizes the rocket during the coast
phase.
Should be a fun build and flight.


2025-05-03 Nose Cone
Turned the Nose Cone from some scrap Southern Yellow Pine... the good hard stuff. Well hard for SYP anyway.


2025-05-04 May The 4TH Be With You....
Turned the Transition on the wood lathe.
Had to make two, first one I got the bore off center.  I discovered the key is to bore the I.D. undersized, and then cut it free hand to the correct size.
I discovered the key is to bore the I.D. undersized, and then cut it free hand to the correct size.
The Transition will be glued onto the O.D. of the BT-52H. Gives a good sturdy base to attach the Spin Tabs to.


CAD Model and Preliminary Drawings


2025-05-05 Assembly Day 01
Cut the tubes, found some Centering Rings in my scrap bucket, and started gluing...


2025-05-26 Back on the fabrication of the Black Arrow...
Perforations in the BT-60 tubes /
C-60 couplers were made with a 1/4" dia hole punch. It has limited reach,
so I had to get creative with tube lengths and couplers.
For glue I used Elmers Wood Glue, for the Body to Coupler joints.


2025-05-27 Installation of the Spin Tabs.
I decided to go with (3) of the SpinTabs... not (4) as shown on the drawings.
These will be sanded to the correct diameter on my wood lathe... so they'll need some heavy fillets for strength.
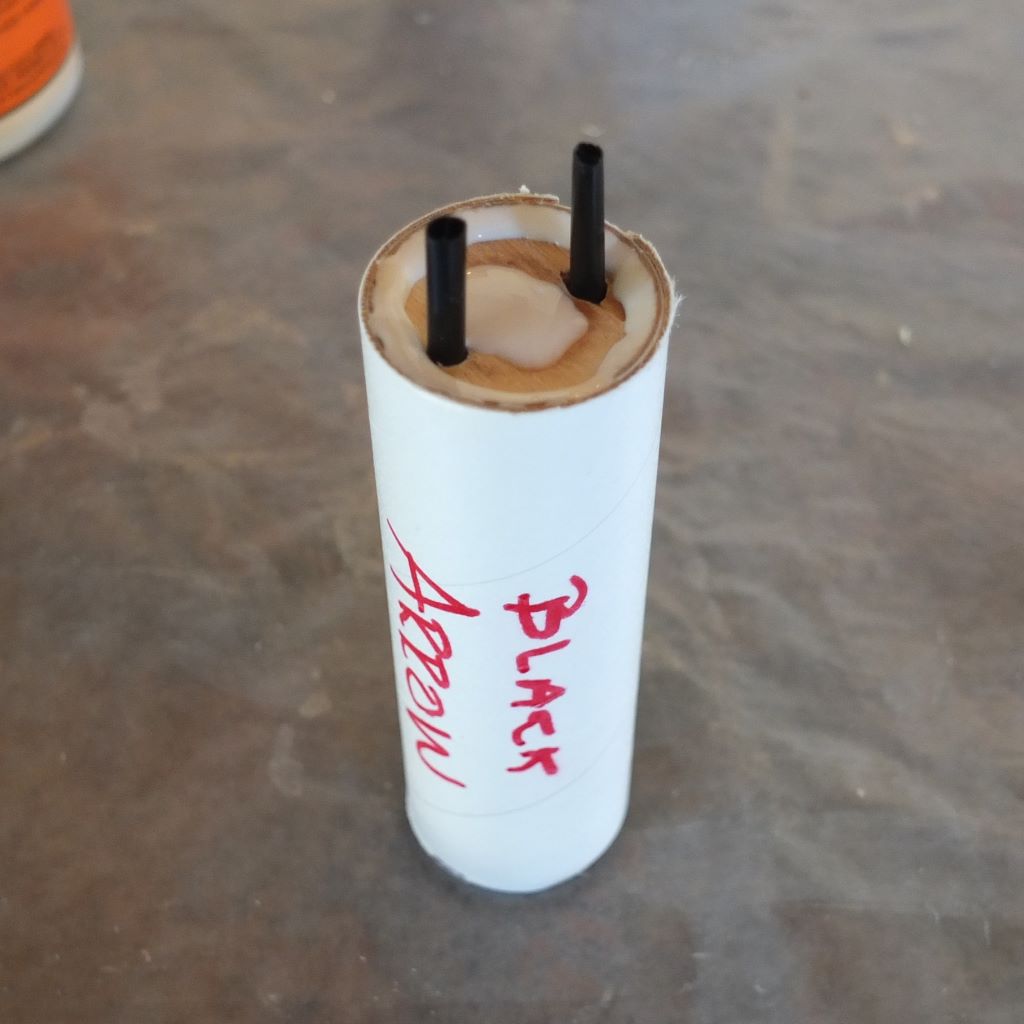
The rocket launches from a piece of std wall 2" sch 40 PVC pipe.


Glue Fillets and CWF
Added some glue fillets to the Spin Tabs and applied some CWF to the Transition. We'll let this sit until the day after tomorrow, and then sand everything to size. 
2025-05-29
Added some glue fillets to the Spin Tabs and applied some CWF to the Transition. We'll let this sit until the day after tomorrow, and then sand everything to size.

Sanded down the Spin Tabs and the CWF using the Wood Lathe. Punched (3) 3/16" Dia Holes for the Centering Dowels.


Gorilla Wood Glued the "Thru The Wall" Centering Dowels.
The Spin Tabs and the Centering Dowels work together to keep the rocket centered in the 2" Sch 40 PVC Launching Silo.


2025-05-30 Ejection Spool, Post #1
Cut the BT-50H tubes for the Ejection Spool, as well as turned the Bulkhead on my wood lathe, and cut a dowel as a plug for the hole in the Bulkhead.
Then set about to glue everything together.
The inner tube is a BT-50HMF, Metal Foil Lined.
I use a generous amount of Gorilla Wood Glue on the inside of the Bulkhead, as it acts as a fire retardant to protect the wood from the ejection blast of the motor.
Using plastic stir stick straws as a temporary plug for the through holes in the bulkhead... those will be removed later.
More external Wood Gluing to come, once the internal wood glue dries more.


Sanded down the Centering Dowels on the Wood Lathe, and Checked the fit into the 2" Sch 40 PVC.
Video of the Black Arrow in the wood lathe
Video of the Black Arrow in the wood lathe


Nose Cone
Drilled the Nose Cone for the 1/4" Dia
Parachute Dowel and the side wall split. Ugh. So I cut a piece of C-50
coupler tubing and glued it inside the bore of the nose cone. This
stiffened up the side wall yet still allows room for the Altimeter.
Drilled the two 3/16" dia Altimeter Vent Holes in the upper portion, and glued in the 1/2" Dia x 1/2" Long Steel Ballast.


2025-05-31 Ejection Spool Post #2 and a GDS Bench Test
Finished up the Ejection Spool.

How's about a bench test of the GDS ports to see if they suck air into the tube?
I modified a spent D12-5 motor to
allow a quick disconnect to my air compressor. I set the air pressure @
60 psi, installed the motor and turned on the air.
I then swept the tissue across the GDS ports and sure enough they were sucking air into the tube.
I then swept the tissue across the GDS ports and sure enough they were sucking air into the tube.


2025-06-01 Ejection Extension
Finished Gluing the Ejection Extension to a D12-7 motor.
1st
step is to sand the face of the motor casing, then glue a short piece
BT-20 to the motor casing, and then another split piece of BT-20 is
glued to the O.D. of the 1st piece for reinforcement.


Rear Eject "Pop N Pull"
This will be another rear eject, and will use my "Pop N Pull" chute deployment method. The Pop N Pull was developed to allow rear ejection without having a Ejection Tube that runs the full length of the recovery area.
- The motor is enclosed in a "Ejection Spool". The spool is closed in the front, open in the rear.
- The motor has a glued "Ejection Extension" at it's upper end. The motor slides into the Ejection Spool and is attached to it via Kevlar Cord. At Ejection the motor shoots out the back of the motor.
- When the motor gets to the end of its Kevlar Cord, it pull the Ejection Spool out of the rocket.
- The Ejection Spool is attached via Kevlar Cord to the parachute, it pulls the parachute out of the rocket.
- The *Parachute is attached via Kevlar Cord to the Nose Cone of the Rocket.
*The kicker though is it needs an extremely loose packed Parachute in order to properly deploy.


Used some High Temperature Paint on the inside of the GDS perforated section.
Primered the rocket with Rustoleum Rusty Metal Primer
And top coated with Rustoleum Gloss White


2025-06-02 Applying CWF and sanding 1st coat of paint to remove defects.

2025-06-03 White Paint.... Round 2

2025-06-07 Red Paint


No comments:
Post a Comment