(BAR-34) 2024-06-27 USS Sarah Connors, a Shrox design
I created a model and then some simulations on this 2012 Out Of Production kit by Shrox
Looks like a challenging build.


2024-06-28 Revision 01: It's all about the dish.


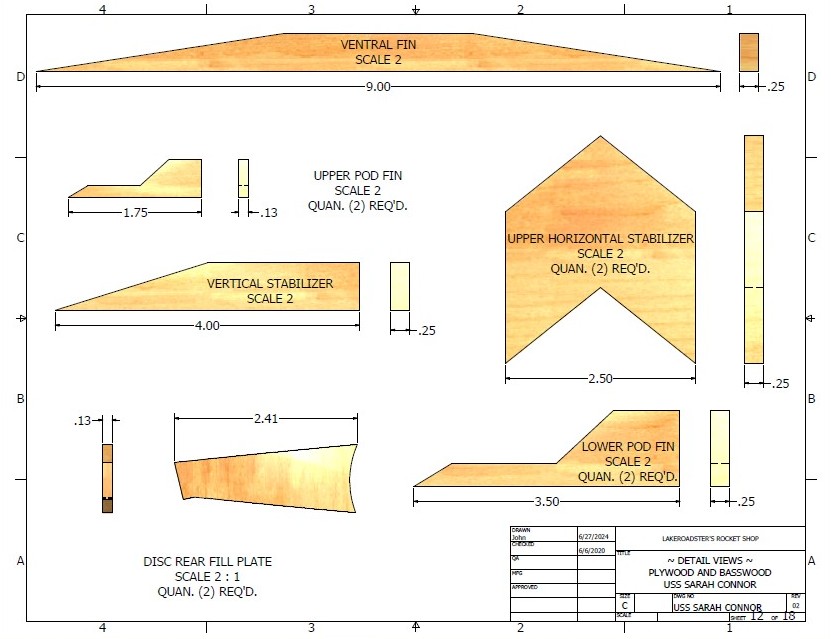
CAD Dwgs Rev 02 Dated 2024-07-16


I used an old 1" pine (glued boards) stairway step board and my wood lathe. Basically like turning a couple of bowls. Came out pretty nice.
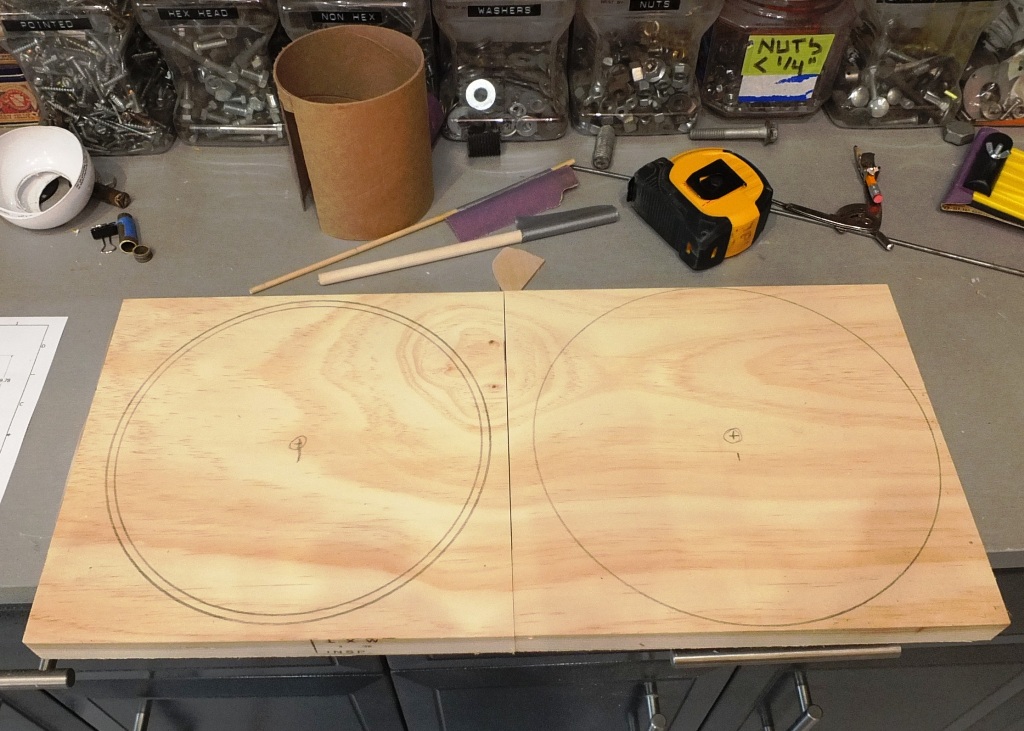


2024-06-31 Disc Cutting and Gluing
I cut the Discs in half, then cut a 45 degree section out of each piece.
I then glued the 2 halves together.


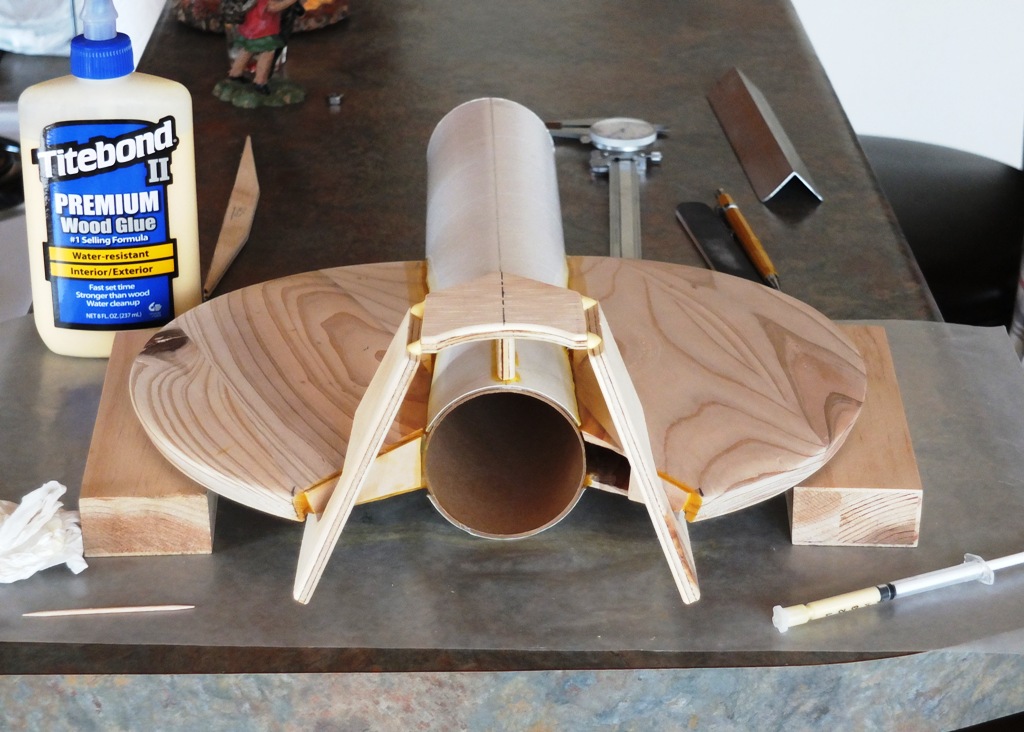
2024-07-01 Sand Fitting The Disc To The Body Tube
Spent some time out in the barn sanding the Disc to fit the C-80 Tube. Actually used the body tube with sandpaper wrapped around it. Worked pretty good.
The nasty looking cutouts at the back are clearance cuts for my Altimeter Two. I hogged out the material with my Dremel and will make some cover plates for those sections.
Now I'll go ahead and finish up the CAD Drawings. This one looks like it's a go.


2024-07-11 Warp Nacelle's, Rev 01


2024-07-15 BT-80H Install


2024-07-19 Internal Disc Fillets and Altimeter Bay
Gluing the internal fillets on the disc, installing an altimeter bay and then installing closures on the rear of the disc.


2024-07-20 Warp Supports
Cut the Warp Supports and Ventral Fins, routed the edges and started gluing them onto the Fuselage and Disc.


2024-07-21 Gluing Stabilizers and Warp Nacelle Prep
Gluing the rear stabilizers and prepped the Warp Nacelles for gluing by removing the outer BT-60 tube in the area where it glues to the stabilizers. Also poked a plethora of holes through the C-60 with a thumbtack to help prevent delamination of the tube.


2024-07-24 Installation Of Warp Nacelles .... because just saying "Warp Nacelles" is awesome
I fixtured up the fuselage and nacelles... so gluing these was a piece of cake.


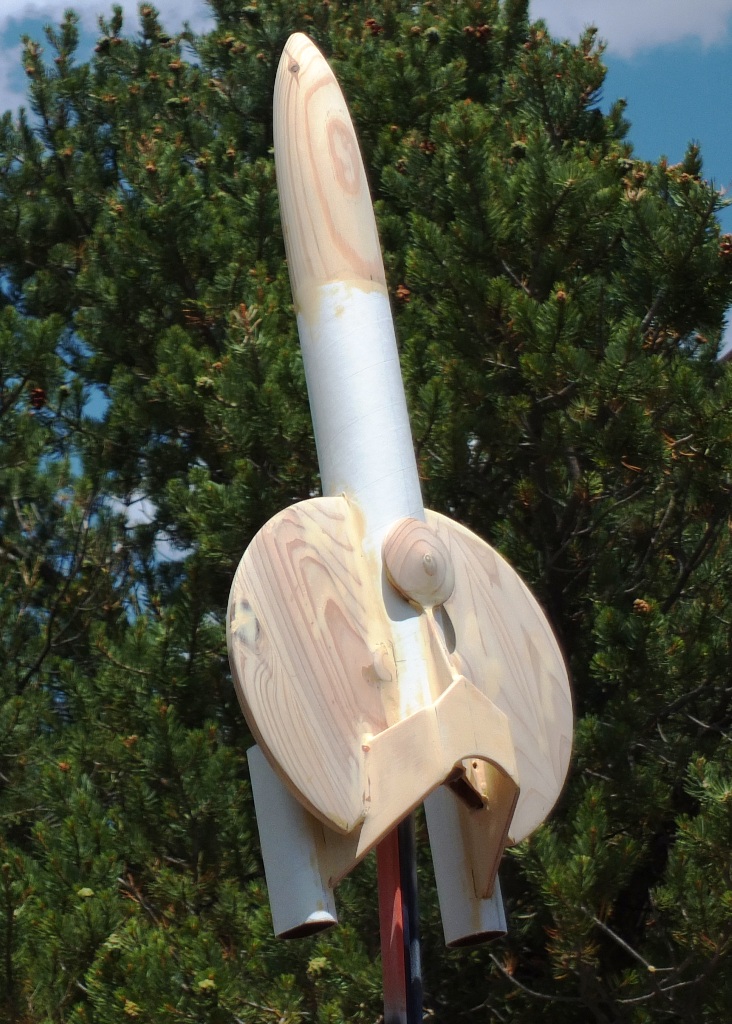
2024-07-26 Swing Test
Did a preliminary swing test. Rocket appears to be stable.
Also spent some time on the Open Rocket model and made the tube fins oval... because... well.. Open Rocket.


2024-07-27 Screw Eye - Ballast - The Bridge
Screw Eye is 3/16" x 3 " long.
Ballast is a piece of 3/4-10 stud x 1-1/4" long
Turned The Bridge on my wood lathe from a scrap piece of 1" stair step.


2024-07-28 Installed the Ventral Fin and Launch Lug

2024-07-31


2024-08-01 CWF 1st Application


2024-08-04 Primer Day 01


2024-08-05 Gray And Red Oxide
Sanded and then applied another coat of Gray Rustoleum 2 in 1 Filler Sandable. Let that dry a couple hours, sanded the Gray and then applied a coat of Rustoleum Rusty Metal Primer, which is Red-Oxide.


And one more round of sanding and priming with Rustoleum Rusty Metal. I think it's ready for some color now.


2024-08-10
Rustoleum White Gloss

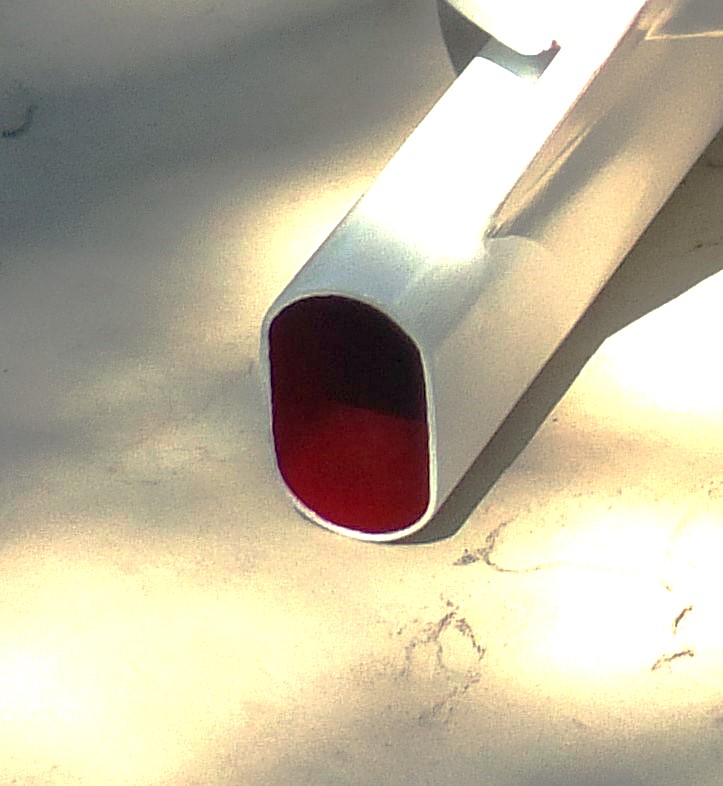
2024-09-15 Painted inside of nacelles red.

2024-10-13 Decal Day
I used a 1.37X scaled up version of the Estes Kit Decals that Tango Papa produced. Just need to clear coat it and it's ready for launch.


Rustoleum Gloss Clear

No comments:
Post a Comment