(BAR 41) Fleet Interceptor
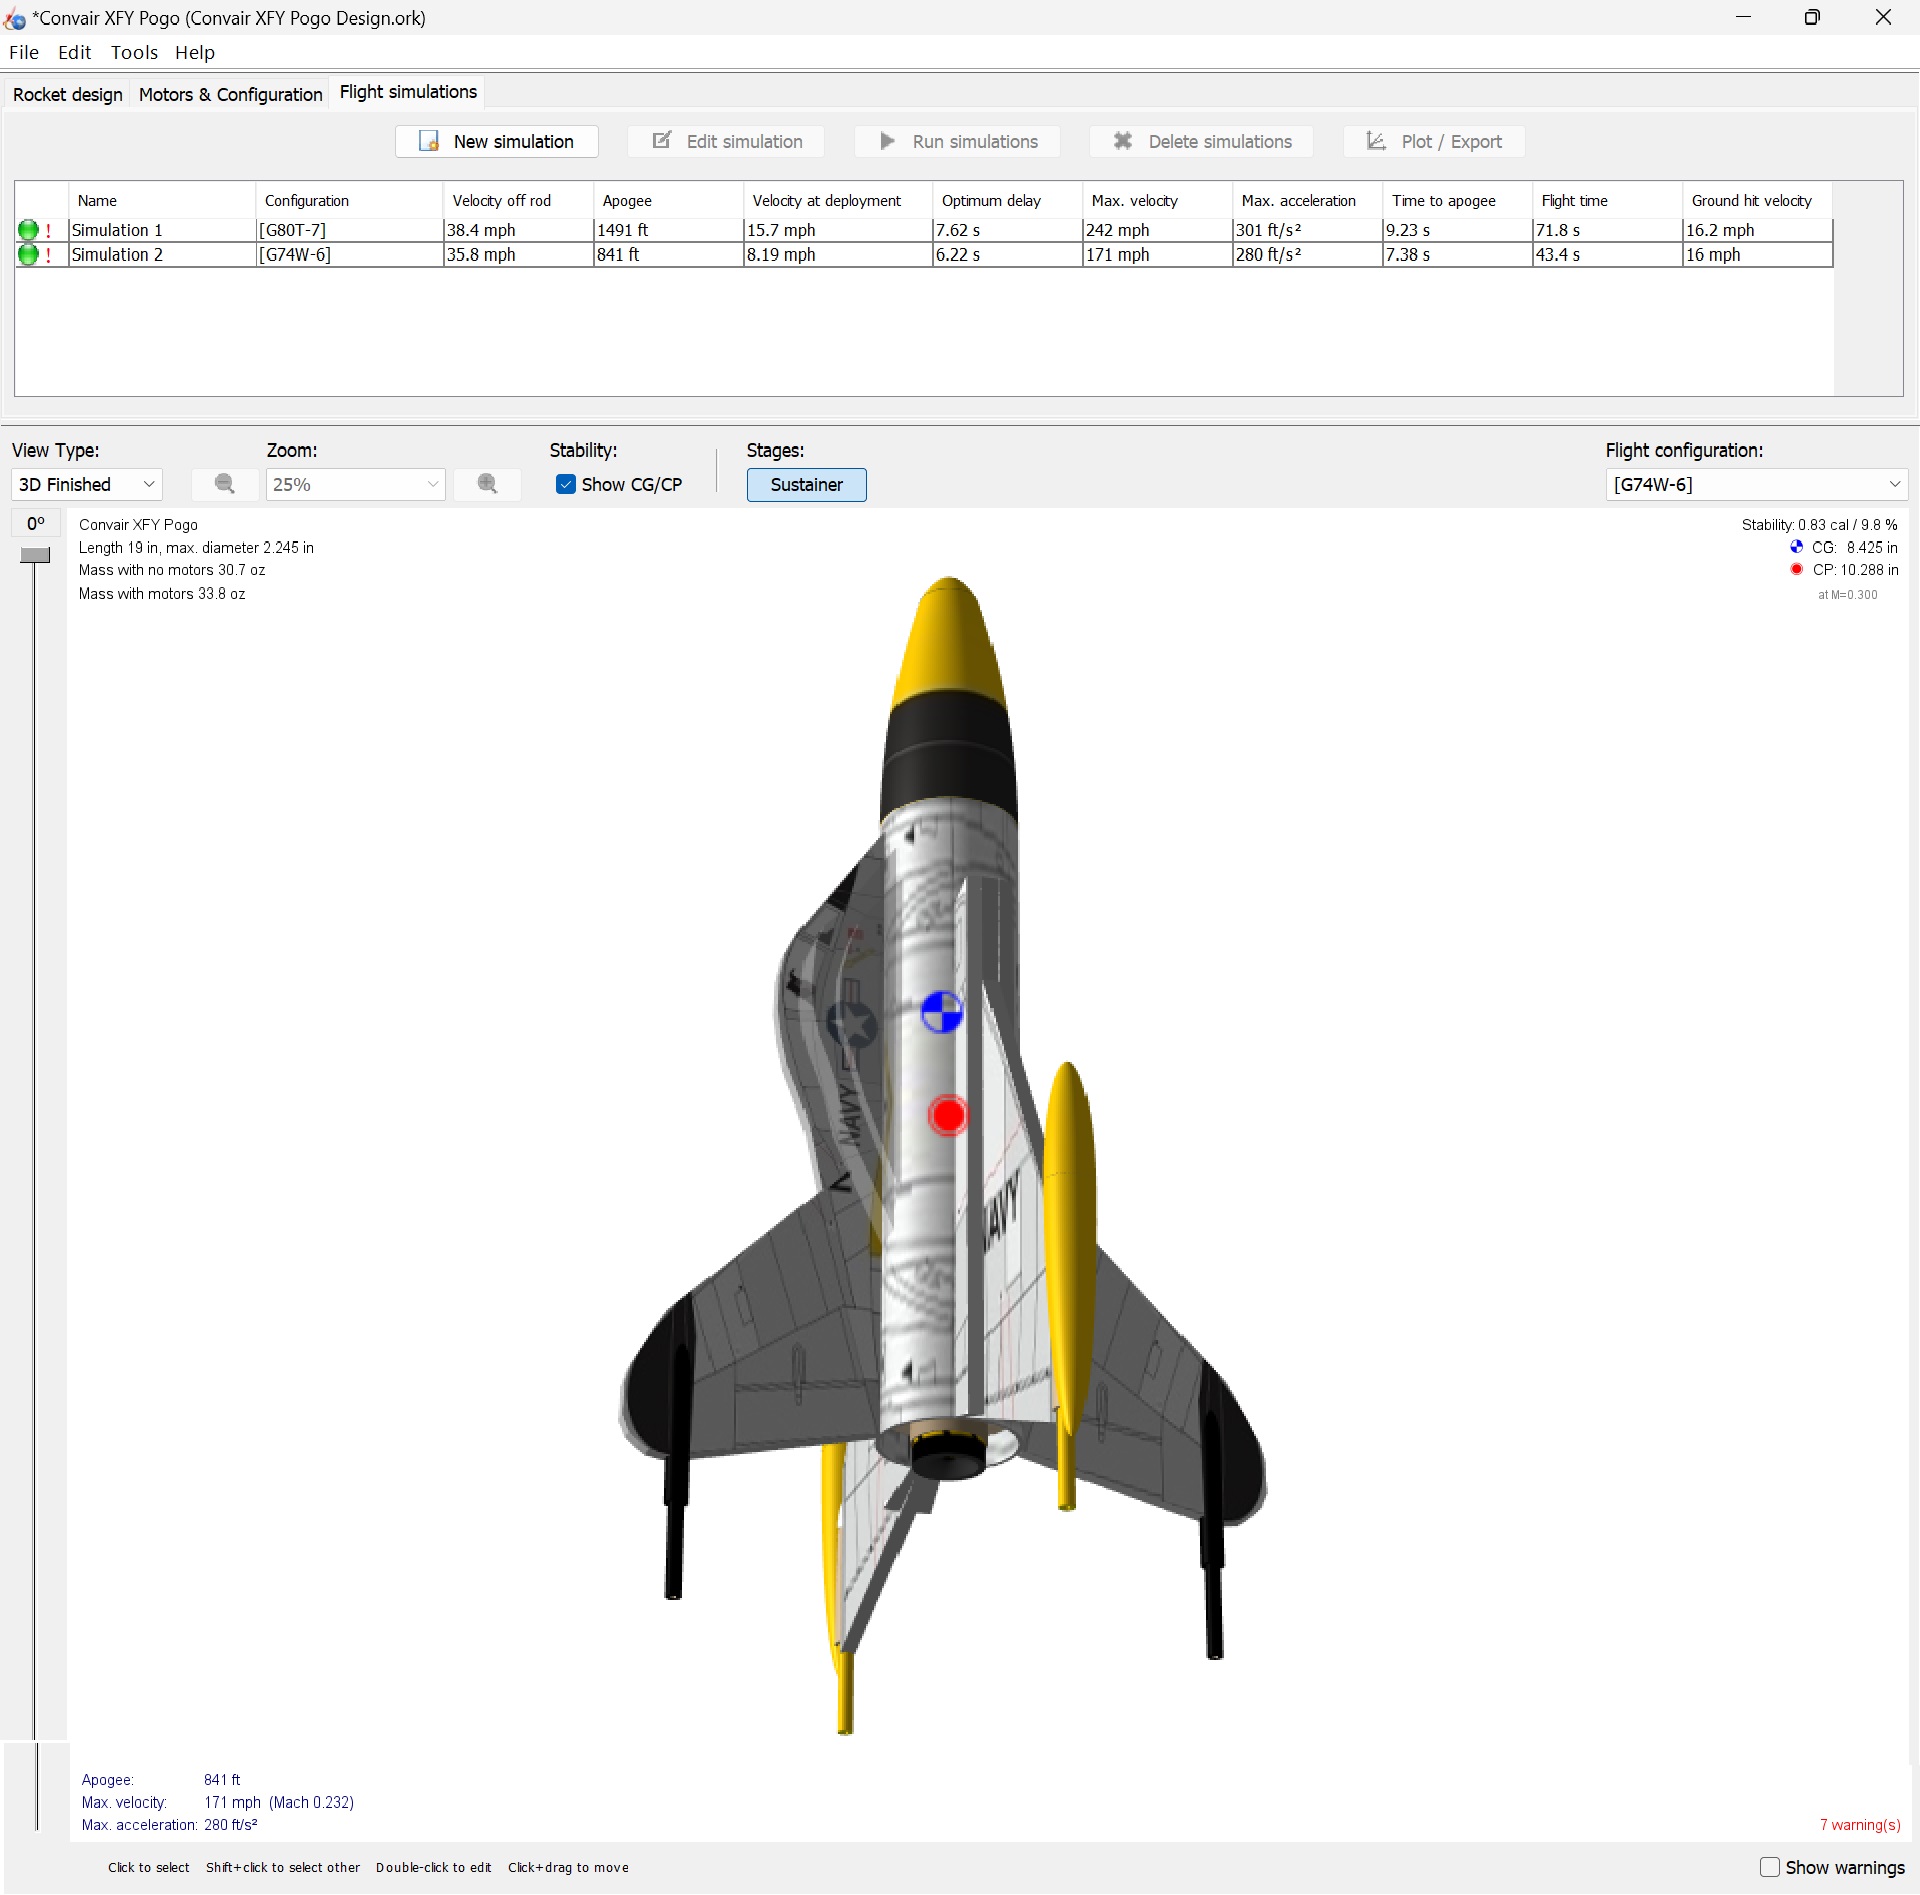
Here's another rocket based on a Sci-Fi image.
The Open Rocket simulation shows it to be a stable rocket... but it'll need a swing test to prove the design.
2024-12-29
I knocked out a CAD Model/Dwg and headed out to the barn to try to make
the Nose Cone. It's 50 F. here today and crazy windy... we're supposed
to have cold weather on the way for early next week.
I cut a 13-1/4" long piece of 4x4, then turned the hub on my wood lathe. Then all those funky angles were cut on my Table Saw.
Pretty happy with the roughed out version. I'll need to do some sanding
with my orbital sander but it looks pretty close to the artwork.
2024-12-30 Preliminary Drawings, Fleet Interceptor Sheets 1 to 3 Rev 00
Also updated the Open Rocket simulation and low and behold... stability is just over 1. Sweet!
Lag Screw Eye: I drilled the Nose Cone, injected glue into the hole and then screwed the Lag into the Nose Cone.
Sanding: I took the time to use my Random Orbital Palm Sander to smooth off the exterior off the Nose Cone.
C-80: I applied Elmer's Wood Glue to the counter bore in the
Nose Cone for the C-80 Tube. I then installed Gorilla Wood Glue fillets
both inside the Nose Cone counter bore and then to the outside of the
counter bore. I then spun the sub-assy, by hand, holding it at a 45
degree angle for an hour to evenly distribute the wood glue on the inner
surface, then sat it "Nose Cone Up" to dry.
2025-01-01 Updated and finalized the drawing package, Rev 01
I was flipping through some tube fin threads on TRF and stumbled upon a photo of "
The Kraken". There's just something about tube fins cut at different angles, front vs back, that is so sci-fi looking.
So I submit Revision 02 of the Fleet Interceptor. It varies from the original sci-fi artwork, but it's so much better looking.
2025-01-05
Cutting The Tube Fins
I made a fixture for my chop saw to
locate the C/L of the tube. It's a piece of scrap with 2 pieces of
heavy photopaper glued to the bottom.
When
you go to cut the tube you set the fixture on the chop saw table, use
the fixture by rotating the tube until the c/l is at the tip of the
fixture. Since the tube is angle cut on both ends... this is important
in order to align those cuts.
I
used some Elmer's White Glue to temporarily glue the C-60 to the BT-60
Tube Fins. After an hour I cut the BT / C-60 tubes using my chop saw. I
used a snap blade knife to then cut the 1" wide section from the bottom
of each tube, and re-glued the edges using Gorilla Wood Glue, then
clamped the edges.
I revised the pod design by increasing the length from 3" to 4", and
made the back section flat. Here's the revised drawing set, Rev 03
2025-01-06 Tube Fin Installation, Day 01
Started gluing the tube fins onto the
C-80 Tube. I used the 1" wide strip of tube to hold the opening
correct. Nothing to magical here... just using Quick Clamps, Rubber
Bands, Thumbtacks and some small pieces of wood.
And my Circle of Friends.
2025-01-07
Installed Fin Tubes 3 & 4. I'll remove all the restraints tomorrow morning once the wood glue dries.
2025-01-08 In-Process Photo Shoot
Started cutting and gluing the Payload Bay Pods / Solar Panels.
2025-01-09
Payload Bay Pods / Solar Panels Day 02
I'm using some masking tape on the inside
of the joints for these and clamping them to the edge of a 1" thick
board until the glue dries. Then just masking tape and some glue to
hold the pieces in place.
Also.... building up the Tube Fins glue fillets with some Titebond Quick and Thick.
I'm
thinking about abandoning the Rear Transition Sub-Ass'y. The rocket
just looks so good as is, I'm thinking the added weight and complexity
of the shroud is unnecessary. I'll wait until after the Payload Bay
Pods are in place though, and then make the final decision.
Hidden Launch Lug: Lower Ion Beam Weapon
Modified the nose cone by cutting a
trough for the Launch Lug. Once the Launch Lug is installed I'll cut a
pine filler piece to replace the void.
2025-01-10 Launch Lugs, Tube Fins: Round and Square
Glued the Launch Lug to the Nose Cones.
Sanded the ends of the Square Tubes and glued on the Stand Offs.
Glued the insides of the Tube Fins to the C-80.
2025-01-11 Pod CWF and Sanding.
These are ready for primer and paint. They'll be installed after the body is sanded and painted, due to the tight fit against the body and tubes.
2025-10-17
Swing Test: RAW
I did a swing test of the fuselage today.
Just the fuselage with no ballast, recovery spool, motor, parachute or
side pods. Kind of to establish a baseline.
Test was successful. If you turn up the volume you can hear the rocket making "air through tubes" noises.
2025-01-27 Cut a filler piece and glued it above the launch lug to fill in the
void. Once it's dry I'll finish up with CWF.
Still using CWF to clean up the scars in the wood and the Launch Lug slot.
I'm about to run out of Elmers Carpenters Wood Filler and my search for
more at Walmart resulted in them not having any stock other than some
CWF in a tube by another manufacturer. So I went to the local ACE and
they didn't have any of the Elmer's brand either.
What they did have was some Gorilla Wood Filler. I really like their
Wood Glue so I bought an oversized tub the Wood Filler for $13

and tried some today. It's weird, it is kind of a greenish tint and
it's super gritty? I applied some to the Launch Lug enclosure and
around the base of the hub.
I'm thinking it was to dry, so I added some water to the tub and mixed it in, which seemed to help the consistency a lot.
Once it was dry I sanded it and it seems ok, see photos, ... but I'm still on the fence about this brand.
So I'm finishing up the CWF on the Fleet Interceptor and I've come to
the decision that Gorilla Wood Filler is crap compared to Elmer's
Carpenters Wood Filler.
The issue being it's too gritty and not fine
like the Elmer's CWF. That translates to not filling the small
imperfections in the wood.
2025-01-31 Primer, Day 01
2025-02-04
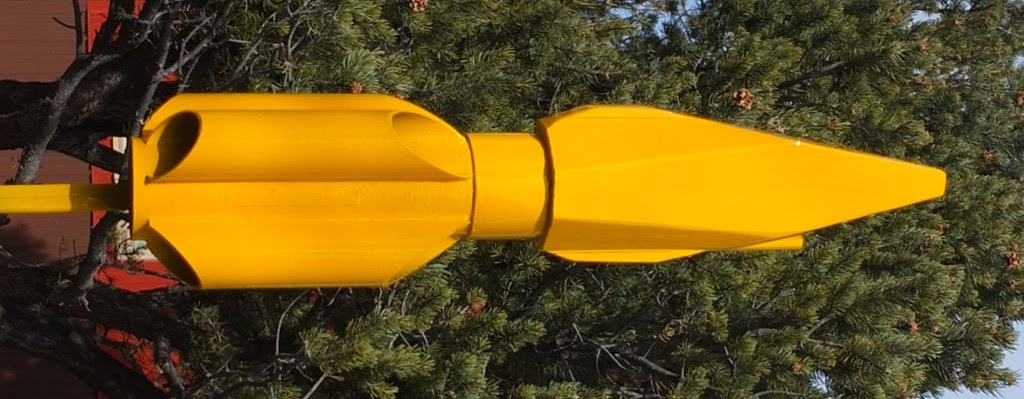
Rustoleum Painters Touch 2X Golden Sunset... a.k.a. "Caterpillar Yellow"
And the Solar Panel Pods... they get glued on after painting.
2025-02-15 Knocked out the Spool a couple days ago... and glued the side pods on today.
2025-03-01
Glued In Some Nose Weight no good stinky altitude reducing nose weight...
I cut a piece of 1" dia bar, and took a
photo of it sitting on the scale... and the photo didn't come out....
so I had NASA make a simulation.